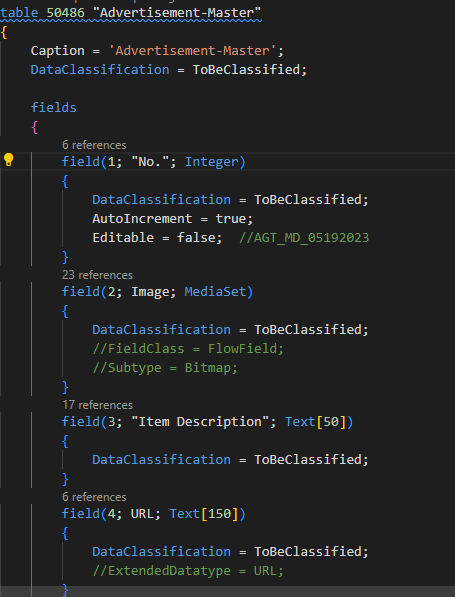
Here I have created a table called Advertisement-Master and added required fields like “No.”, “Item Description”, “Item URL”, and “Item Image”.
For “Item Image”, the datatype has to be “MediaSet” and one Boolean field to specify in which report product advertisement has to be printed.
You can specify the reports to print Image by enabling and disabling these fields.
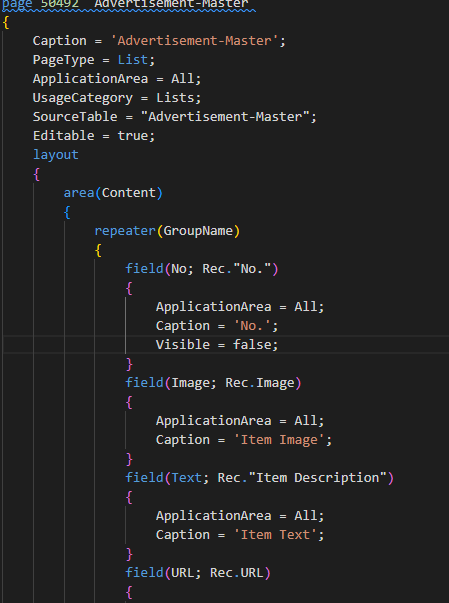
2.Create a Page for the table
Add all the above created fields to the page. Below screenshot is my ‘list page’ and I have added all fields to the page.
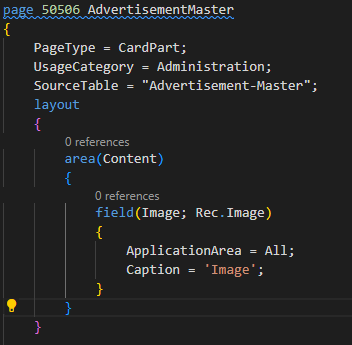
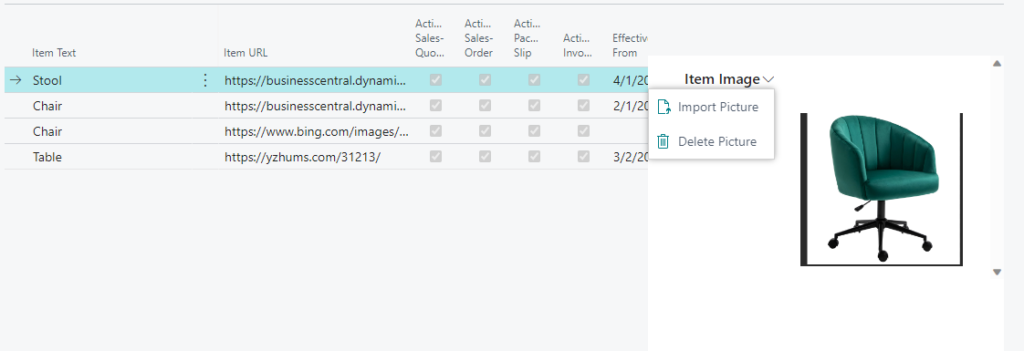
Item image” can be inserted through “FactBox”, to achieve that, lets create a “CardPart page” to insert the Item Image.
Below screenshot is for the reference to insert “Item Image” through “FactBox”.
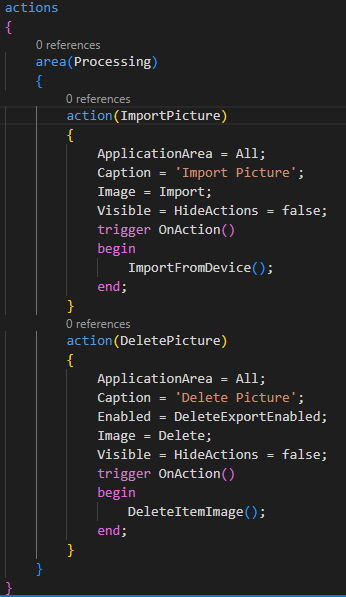
Next step is to add “field Image” and added Two actions to Insert and Delete “Item Image”.
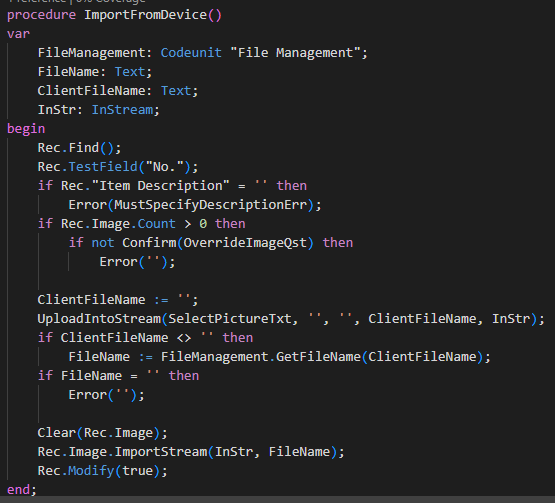
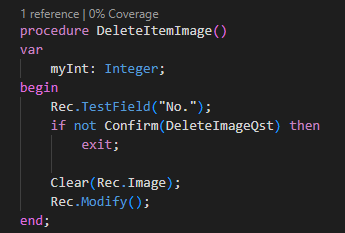
In the actions I am calling “ImportFromDevice” procedure and “DeleteItemImage” procedure.
The procedures which I am calling is described below.
3. Add Hyperlink property to the report
To add Hyperlink in the report layout, first hyperlink has to be enabled to achieve this. In the report use the property “EnableHyperlinks” and set it “True”.
Ex: EnableHyperlinks = true;
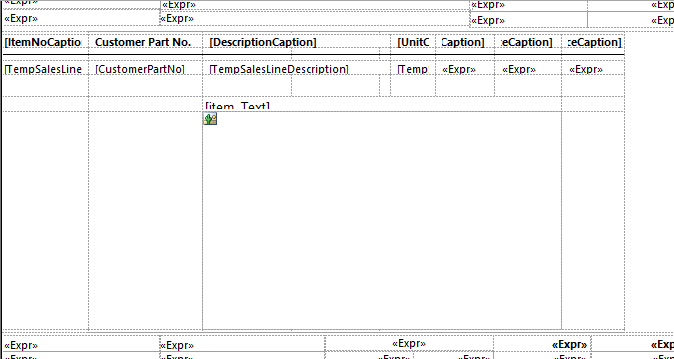
Below is the example to display “Item Image” in the report.
Inside the “OnAfterGetRecord” trigger, use the below sample code to display image in the report.
4.RDL layout
Open the RDL file and add the “Item Image” column, as shown below.
When the Click action is performed on that image, it will take to the specified URL. To achieve this:
- Go to “Image properties”, by right clicking on the “Item Image column”.
- In the Action section enable ‘Go To URL’ and specify the ‘URL’ under ‘Select URL:’, as shown below.
Save the changes and run the report.
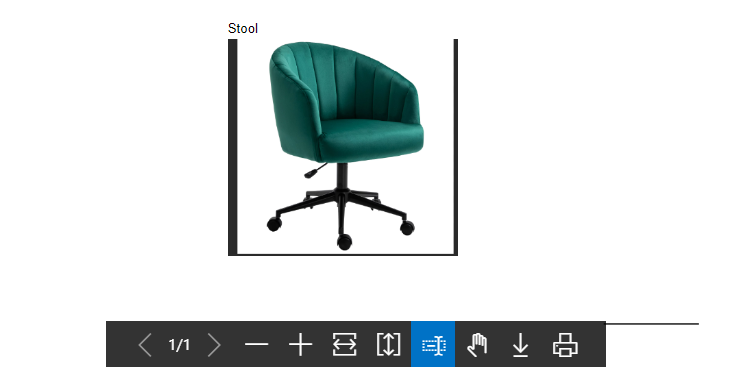
Here is the result:
This is result of the “Item Image page”, here I have enabled “Boolean” fields, to print the image and right side is the “FactBox” where you can insert or delete the image.