
In today’s blog, we are going to discuss about “Lot No.” feature in Business Central and how to assign the Lot No to newly created Item and cerate Purchase & Sales transaction.
The very first step is to create an Item in the Item Master.
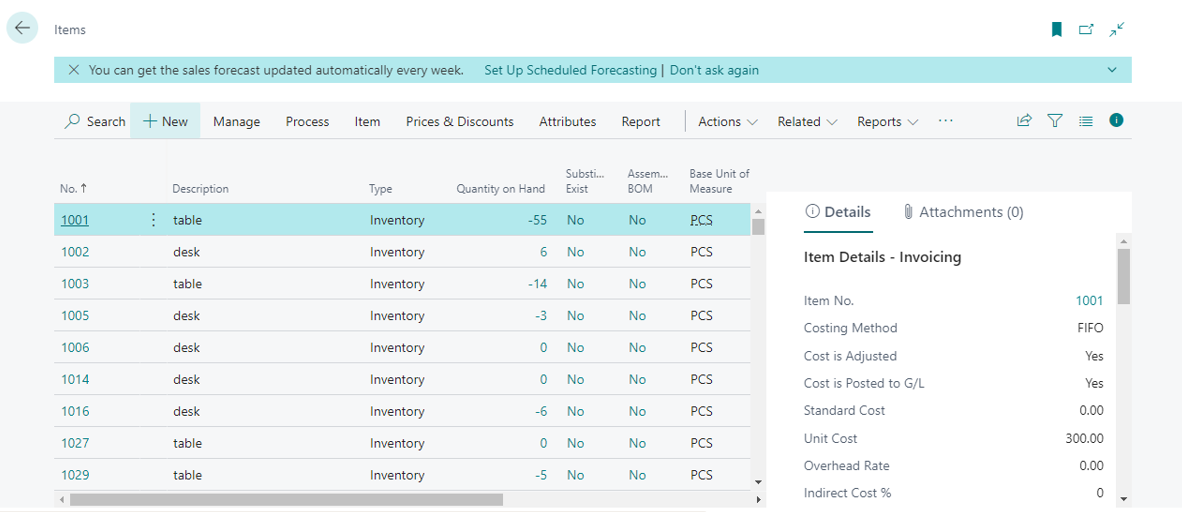
- Go to Item List page in Business central.
- Select New from the Action.
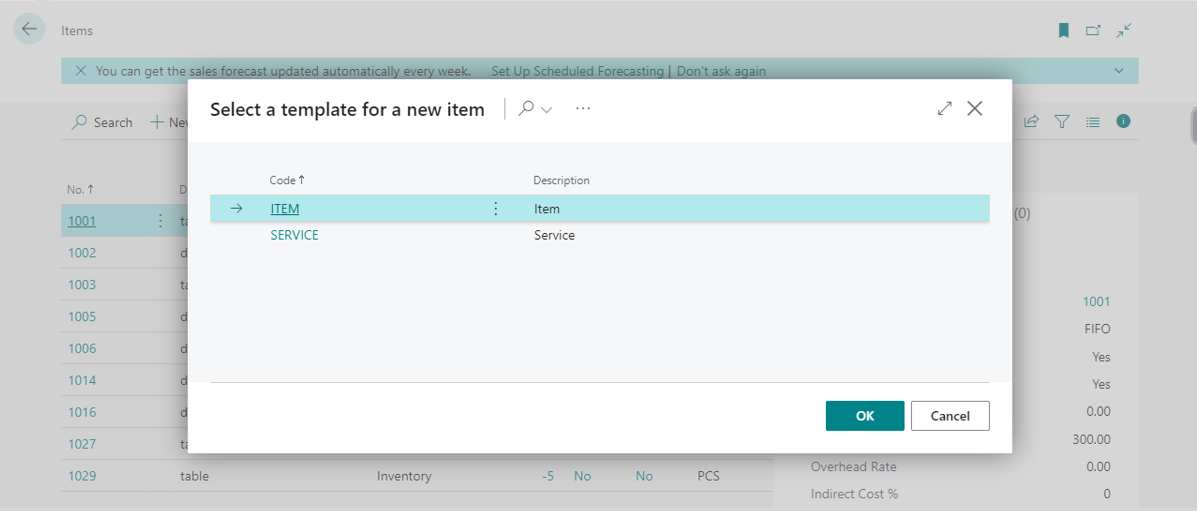
3.Select ITEM TEMPLATE
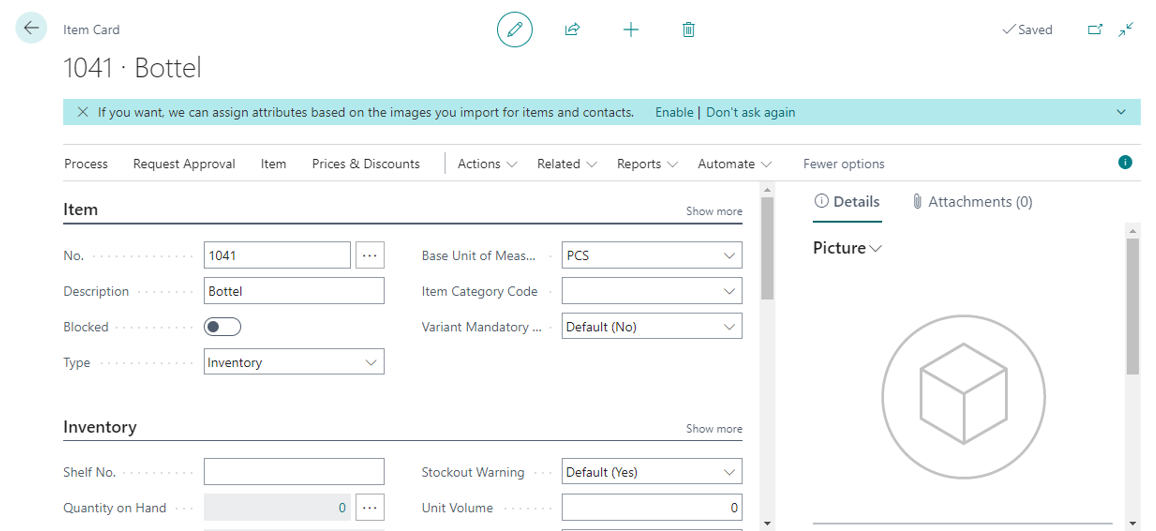
- Fill the Description field and Type field should be Inventory, here I’m using item name as Bottle.
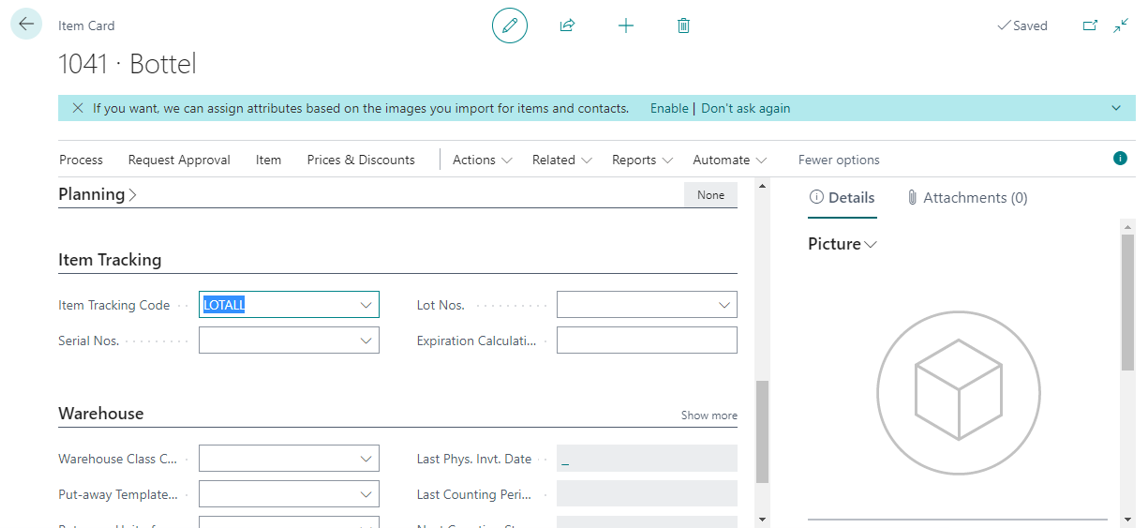
- In the same Item card page under Item Tracking section, select LOTALL for Item Tracking Code field.
After this go back and check the item list, our new item will have been created.
The second step is to create a Purchase Order for the newly created Item
- Go to Purchase Order in Business Central
- Select New, fill the required fields.
- Under Lines
- Select the newly created item, fill required fields remember to specify the Location Code.
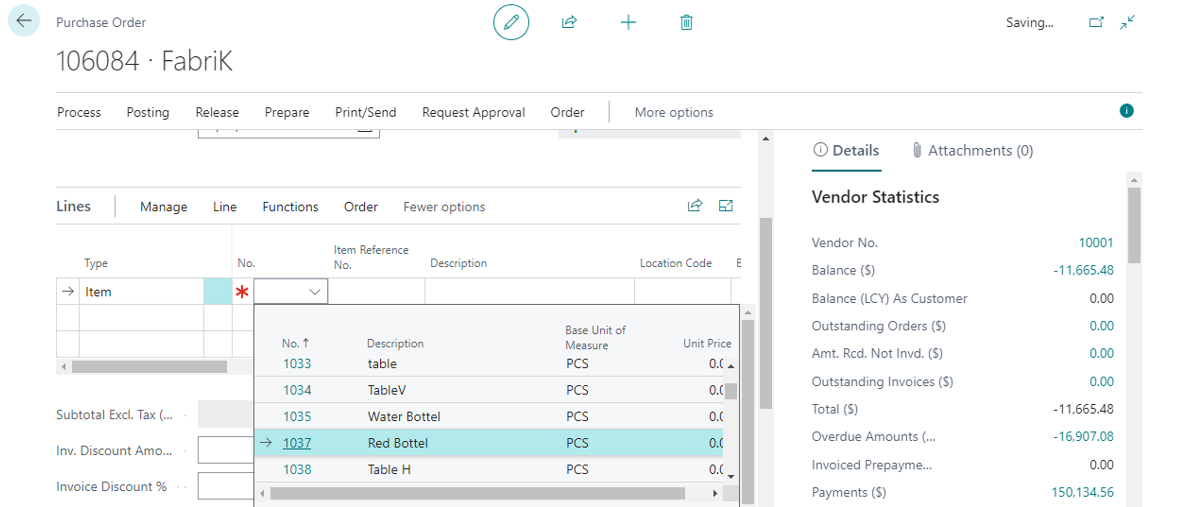
3.In Line action select Item Tracking Lines, item tracking page will open.

4.If the Lot No is already specified in the Item page, specify the quantity, and go to Process action select Assign LOT No.
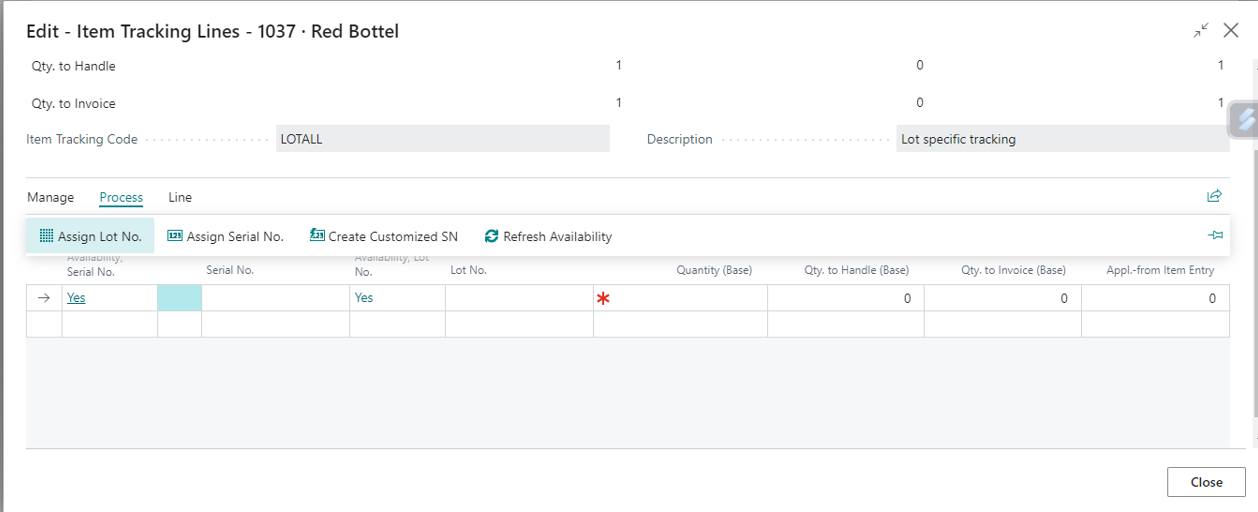
5.If not, in lines create LOT No. and assign the quantity.
6.LOT No. are created based on the quantity assigned in the purchase order.
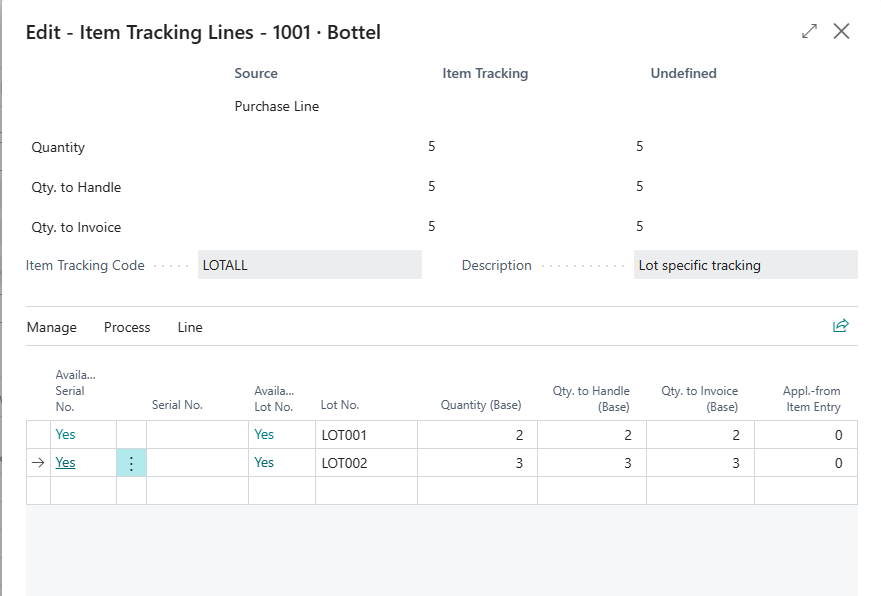
7.For example: – For the item Bottle, if we specify the quantity as 5 single LOT No. is created for all the 5 quantities.
Or we can create two more LOT Nos by distributing quantities between those two Lot Nos as shown below, but quantity should not exceed the original quantity.
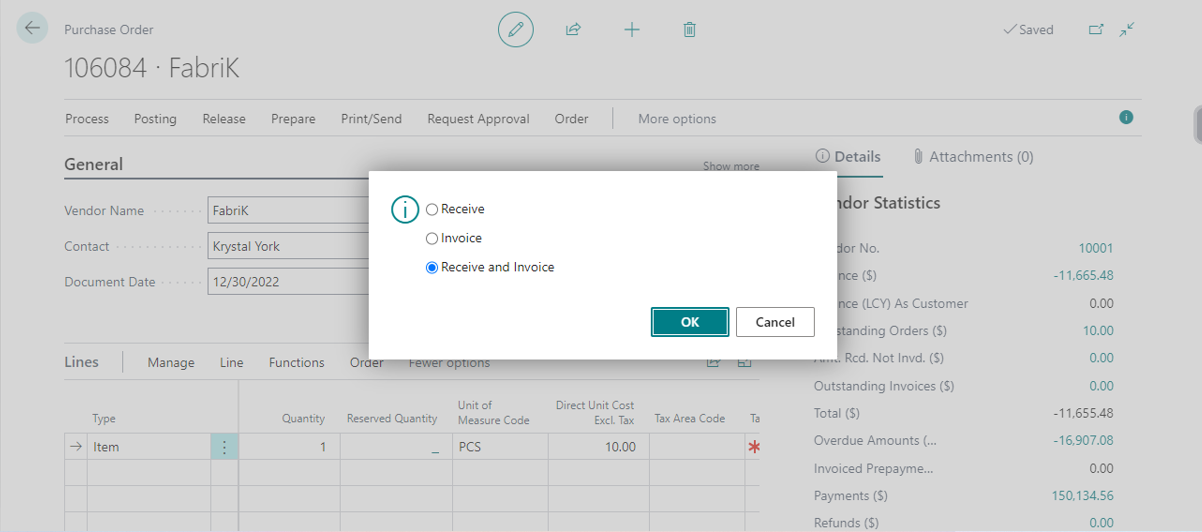
8.Close and Post the Purchase order.
9.Now in the inventory we have Bottle of quantity 5 reserved and can be identified by the Lot No given.
10.Suppose if we want to sell those reserved quantities, Sales Order should be created.
The third step is to create a Sales Order for the newly created Item
- Go to Sales Order
- Select New, fill the required fields
- Under Lines section, select the newly created item and fill the required fields
- In the lines fill Location code same as posted purchase order. For example: Suppose location code in purchase order is Main it has to be same for sale order.
- Under Lines section, go to Related Information, under that select Item Tracking Lines.
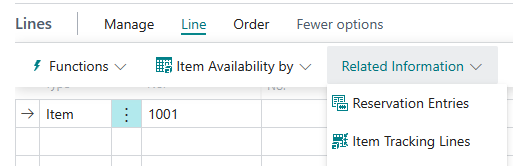
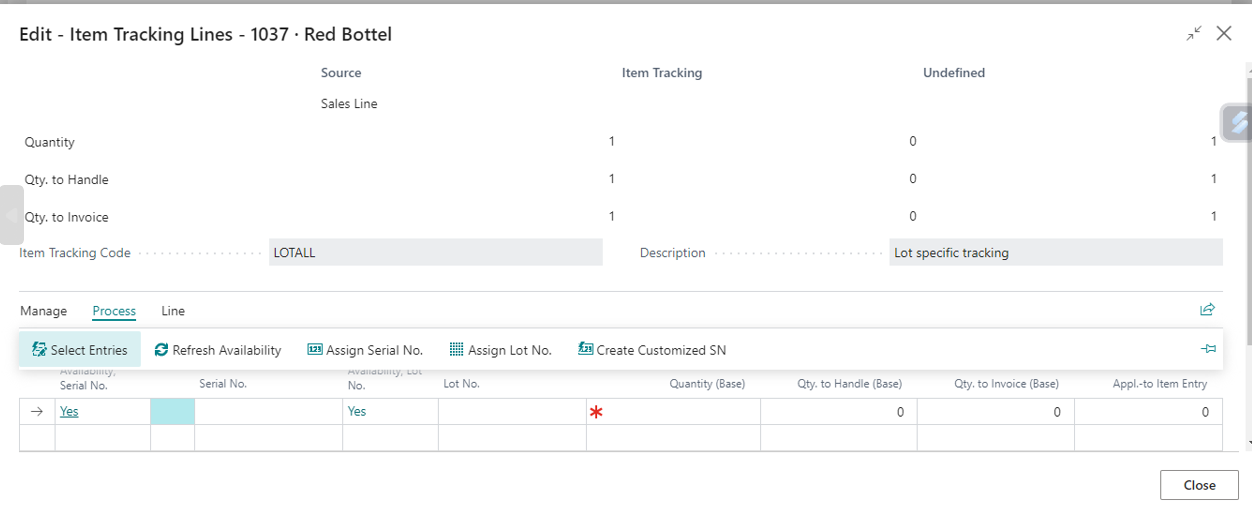
- Item Tracking Lines page will open.
- Under Process section, select ‘Select Entries’
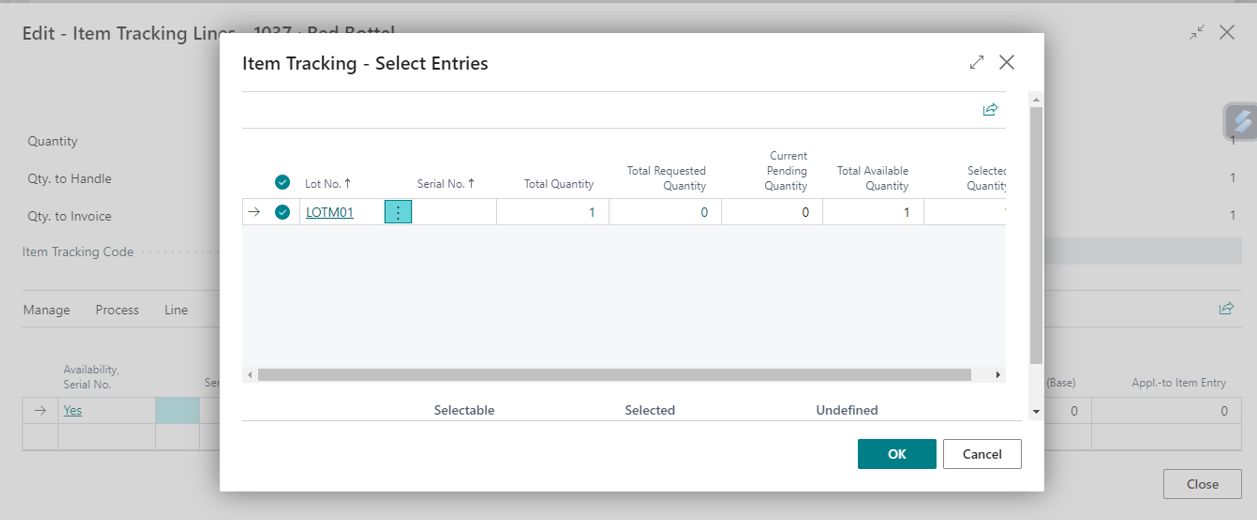
- Select Entries a page will open, select the LOT No. and then click OK.
- Come back from Item Tracking Lines page
- Now Lot No. is allotted for the item, and we can post the Sales Order.